
There’s something almost magical about watching grape juice transform into wine over weeks and months, knowing you created it with your own hands.
Making homemade wine is far more accessible than most people think, and the reward goes beyond just a finished bottle. You gain control over sweetness levels, alcohol content, and flavor profiles while spending a fraction of what you’d pay at a wine shop.
This recipe walks you through creating a clean, balanced wine from start to finish, whether you’re using fresh grapes, juice, or concentrate. The process teaches patience, chemistry, and the art of timing.
Why You’ll Love This Recipe
Homemade wine delivers satisfaction that store-bought bottles simply can’t match, plus you’ll impress friends by saying you made it yourself.
- Full control over sweetness, tannins, and alcohol content
- Significantly cheaper per bottle than retail wine
- A tangible, rewarding hobby that produces drinkable results in 3 to 6 months
- Flexible ingredient options work with grapes, juice, or concentrate
- A meditative process that teaches you about fermentation chemistry
My Experience Making This Recipe
I started winemaking in my kitchen with zero expectations and was genuinely shocked when my first batch actually tasted good. The aroma during fermentation alone made the whole experience worth it.
The first time I bottled my wine and shared it with friends, their reactions told me everything. They couldn’t believe I’d made something they’d genuinely want to drink again.
What I love most is how forgiving the process is once you understand the basics. Small mistakes rarely ruin a batch, and each one teaches you something for the next attempt.
Recipe Overview
- Recipe Name: Homemade Wine
- Servings: Makes approximately 5 gallons (25 bottles)
- Prep Time: 30 minutes
- Fermentation Time: 4 to 6 months
- Total Time: 4 to 6 months plus 30 minutes active work
- Course: Beverage
- Cuisine: Universal
- Alcohol Content: Approximately 10 to 14% ABV
Equipment You Will Need
- 5-gallon glass carboy or food-grade plastic bucket
- Airlock and rubber bung (or stopper)
- Siphon and siphon tubing
- Hydrometer (to measure sugar content and fermentation progress)
- Large stainless steel pot (non-reactive)
- Thermometer
- Long spoon or paddle for stirring
- Cheesecloth or fine mesh strainer
- Wine bottles and corks or screw caps
- Bottle filler or funnel
- Labels for tracking batches
- Sanitizer (food-grade, like Star San or potassium metabisulfite)
Ingredients for Homemade Wine
- Fresh grapes or grape juice: 5 to 6 gallons of unsweetened juice or 18 to 20 pounds fresh grapes (red or white depending on desired wine type)
- Sugar: 2 to 4 pounds (adjust based on juice gravity and desired sweetness)
- Wine yeast: One 5-gram packet of Saccharomyces cerevisiae or similar wine strain
- Yeast nutrient: 1 teaspoon (supports healthy fermentation)
- Potassium metabisulfite (optional): 1/4 teaspoon (kills wild yeasts and bacteria)
- Water: As needed to reach 5 gallons total volume
- Tartaric acid or citric acid (optional): 1/2 teaspoon to 1 teaspoon (adjusts acidity for balance)
Ingredient Notes and Substitutions
- Fresh grapes: These provide complex flavors and natural tannins that create structured wine. If unavailable, use 100% unsweetened grape juice concentrate or pasteurized juice from a winemaking supplier.
- Wine yeast: Wine-specific strains ferment cleanly and handle high alcohol better than bread yeast. Bread yeast produces off-flavors and stops fermenting at lower alcohol levels.
- Yeast nutrient: This provides nitrogen and minerals for yeast health during fermentation. Omitting it may result in stuck fermentation or off-flavors.
- Potassium metabisulfite: This sterilizes your must and prevents spoilage from wild microorganisms. You can skip it if using pasteurized juice and excellent sanitation, but it’s your safety net.
- Sugar: Use white granulated sugar; brown sugar or honey adds unwanted flavors. Adjust quantity based on your hydrometer reading and target alcohol level.
How to Make Homemade Wine
Step 1: Sanitize All Equipment
Cleanliness is the foundation of successful winemaking; even tiny colonies of wild yeast or bacteria can spoil your batch. Soak your carboy, airlock, rubber bung, spoon, thermometer, strainer, and any other equipment in a sanitizer solution for at least 20 minutes, then rinse thoroughly with hot water and let air dry.
Step 2: Prepare Your Must
If using fresh grapes, crush them gently to release juice while keeping stems and skins intact for red wine (remove for white wine). If using juice, simply pour it into your sanitized pot.
Step 3: Test Sugar Levels with a Hydrometer
A hydrometer measures gravity, which indicates fermentable sugar content and helps predict final alcohol levels. Place a sample of your juice in a test cylinder and float the hydrometer; note the reading at the meniscus line.
Step 4: Adjust Sugar If Needed
Most juice reads between 1.050 and 1.090 gravity; you want to aim for 1.085 to 1.100 for balanced wine with 10 to 14% alcohol. Dissolve additional sugar in warm water and stir it into your must if the reading is too low, then retest.
Step 5: Add Sulfites and Acid (Optional)
If using fresh grapes or concerned about wild yeasts, dissolve potassium metabisulfite in a small amount of water and add it to your must. Optionally add tartaric or citric acid now if your juice tastes flat; taste as you go and adjust to preference.
Step 6: Rehydrate and Pitch Your Wine Yeast
Pour warm (not hot) water into a cup and sprinkle wine yeast into it; let it sit for 10 minutes to rehydrate, then stir to combine. Add the yeast nutrient to your must, then pour the rehydrated yeast into the pot and stir gently but thoroughly for one minute.
Step 7: Transfer to Your Carboy and Begin Primary Fermentation
Pour or siphon your must into your sanitized carboy, leaving about 2 inches of headspace at the top; this prevents overflow during vigorous fermentation. If using fresh grapes, strain out skins and solids through cheesecloth first, then transfer the liquid.
Step 8: Install Airlock and Monitor Fermentation
Fit your rubber bung and airlock into the carboy opening; the airlock allows carbon dioxide to escape while preventing oxygen and contaminants from entering. Store your carboy in a cool (60 to 75 degrees Fahrenheit), dark place and watch for bubbling, which signals active fermentation.
Step 9: Perform First Racking at 30 Days
After fermentation slows noticeably (usually around day 30), siphon the clear wine into a clean, sanitized carboy, leaving the sediment (called lees) behind in the original vessel. This separation removes dead yeast and other debris that could create off-flavors.
Step 10: Continue Secondary Fermentation
Replace the airlock on your new carboy and let fermentation continue in the cool, dark space for another 2 to 3 months until the hydrometer reading stabilizes around 1.000 or lower. You may perform a second racking at the 3-month mark if significant sediment accumulates.
Step 11: Final Racking and Bottle Preparation
Once fermentation is complete and the wine is clear, siphon it one final time into clean bottles, filling to about half an inch below the cork line. Cap with corks or screw caps immediately to prevent oxidation.
Step 12: Age and Enjoy
Store your bottles on their side in a cool, dark place for at least one month before drinking, though 3 to 6 months of aging improves flavor complexity considerably. The wine continues to mellow and integrate in the bottle.
Pro Tip: Keep your fermentation space consistently cool and out of direct sunlight; temperature swings stress yeast and can create off-flavors, so aim for a steady 65 to 72 degrees Fahrenheit throughout.
Tips for the Best Homemade Wine
- Invest in a reliable hydrometer and thermometer; these two tools prevent most winemaking mistakes by giving you hard data instead of guesses.
- Use a siphon rather than pouring when racking to avoid splashing oxygen into your wine and to leave sediment undisturbed in the bottom of the vessel.
- Keep meticulous notes on gravity readings, dates, temperature, and any additions; your future batches will thank you for this information.
- Taste your wine at each racking to catch any problems early and learn how flavors evolve during fermentation and aging.
- If your fermentation stalls partway through, warm the carboy slightly (to 70 to 72 degrees) and gently swirl it to rouse the yeast back into action.
- Avoid opening your carboy unnecessarily; every opening risks introducing oxygen or contamination, so plan your sampling and racking strategically.
Common Mistakes to Avoid
- Starting with unsanitized equipment introduces wild yeast and bacteria that consume sugar and produce vinegar flavors; take 20 minutes to sanitize thoroughly.
- Using bread yeast instead of wine yeast produces solvent-like off-flavors and stalls at low alcohol levels, ruining your batch.
- Fermenting in too-warm conditions (above 75 degrees) stresses yeast and creates hot, unpleasant alcohol flavors that detract from fruit character.
- Bottling before fermentation completes traps carbon dioxide in sealed bottles, which builds pressure and risks exploding corks and glass.
- Exposing your wine to excessive oxygen during racking or storage causes browning, off-flavors, and vinegar production over time.
Serving Suggestions
Homemade wine shines when served at the right temperature and paired thoughtfully with food or simply sipped on its own. The versatility of your creation depends on how you built the flavors during fermentation.
- Serve chilled with light appetizers like cheese, olives, and cured meats for a casual gathering
- Pair red homemade wine with pasta, roasted vegetables, or grilled meats at dinner
- Enjoy white varieties with fish, chicken, and fresh herb-forward dishes
- Sip slowly as an after-dinner meditation or reflection beverage
- Gift bottles to friends and family with a handwritten label noting the vintage and tasting notes
Variations to Try
- Berry wine: Substitute blackberries, blueberries, or raspberries for grapes; use 4 to 5 pounds of berries per gallon of water for fruit-forward, slightly tart results.
- Honey wine (mead): Replace half the grape juice with honey and adjust yeast nutrient upward; this creates a smoother, slightly floral profile.
- Fruit-infused wine: Add dried apricots, raisins, or peaches during primary fermentation for subtle complexity and natural sweetness.
- Herbal wine: Steep dried rosemary, chamomile, or lavender in the must before fermentation to create botanical, earthy notes.
- High-alcohol fortified style: Add brandy or neutral spirits after fermentation completes to create a port-like wine with 15 to 18% ABV.
Dietary Adaptations
- Gluten-free: All properly fermented wine is naturally gluten-free since yeast ferments sugars, not grains; simply ensure your equipment and additives contain no gluten.
- Sulfite-free: Omit potassium metabisulfite and rely on excellent sanitation and sealed fermentation to prevent contamination, though this increases spoilage risk slightly.
- Lower alcohol: Stop fermentation at 1.010 gravity by cooling the carboy to 55 degrees or adding potassium sorbate to stabilize yeast; this preserves residual sweetness.
- Lower sugar: Start with juice reading below 1.080 gravity or use a dry yeast strain that ferments completely, leaving no residual sugar.
Storage and Reheating
Refrigerator
Sealed bottles keep indefinitely in a cool refrigerator, though opened bottles oxidize and flatten within 3 to 5 days. Store bottles upright if using screw caps or on their side if using traditional corks to keep the cork moist.
- Keep unopened bottles at 50 to 65 degrees for long-term aging
- Store opened bottles in the coldest part of your refrigerator with the cork inserted tightly
- Expect subtle aging and flavor integration over years if stored properly
Freezer
Wine can be frozen but expands as it freezes, which may push the cork out or crack glass bottles. Freezing also damages the delicate flavor compounds in finished wine.
- Avoid freezing finished wine for storage
- Freezing is acceptable only if you plan to use the wine for cooking within a few months
Reheating
Wine should never be reheated since heat destroys its flavors and character. Instead, serve at the appropriate temperature by chilling or keeping in a cool space.
- Red wine: 60 to 65 degrees Fahrenheit
- White wine: 45 to 55 degrees Fahrenheit
- If wine warms beyond serving temperature, simply chill it again without heating
Nutrition Information
| Nutrient | Amount |
|---|---|
| Calories | 125 per 5 oz serving |
| Total Fat | 0g |
| Saturated Fat | 0g |
| Carbohydrates | 4g |
| Fiber | 0g |
| Sugar | 1g to 3g (varies with fermentation level) |
| Protein | 0g |
| Sodium | 10mg |
| Cholesterol | 0mg |
Nutrition values vary based on your source ingredients and fermentation depth. Values shown assume a dry wine with 12% alcohol content.
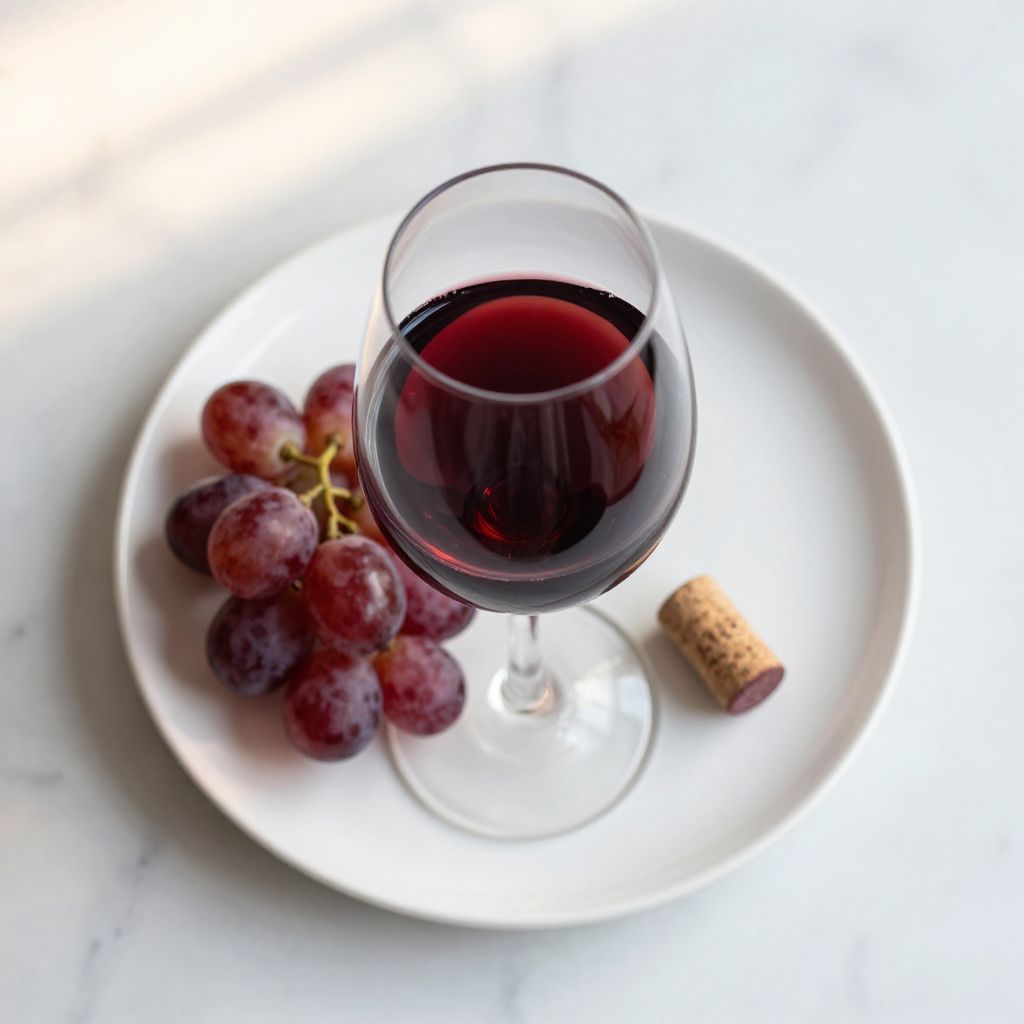
Homemade Wine
Ingredients
Equipment
Method
- Sanitize all equipment by soaking in sanitizer solution for at least 20 minutes, rinse with hot water, and air dry.
- Prepare the must: crush fresh grapes with stems and skins intact for red wine or pour juice into the pot for white wine.
- Measure specific gravity with a hydrometer by floating it in a sample of must and recording the reading at the meniscus.
- If gravity is below 1.085, dissolve additional sugar in warm water, stir into the must, and retest until target gravity is reached.
- Optional: add dissolved potassium metabisulfite and tartaric or citric acid, tasting and adjusting acidity as needed.
- Rehydrate wine yeast in warm (not hot) water for 10 minutes, then stir in yeast nutrient and pitch into the must.
- Transfer the must into the carboy through cheesecloth, leaving about 2 inches of headspace at the top.
- Install the airlock and store the carboy in a cool (60 to 75°F), dark place until active fermentation (bubbling) begins.
- After 30 days or when fermentation slows, siphon the clear wine into a clean carboy, leaving lees behind (first racking).
- Continue secondary fermentation for another 2 to 3 months at 60 to 75°F until hydrometer readings stabilize around 1.000 or lower.
- Perform a second racking at 3 months if significant sediment accumulates, then allow wine to clear fully.
- Once clear, siphon into bottles, filling to 1/2 inch below cork line, and seal with corks or screw caps.
- Age bottles on their side in a cool, dark place for at least 1 month before tasting, with 3 to 6 months improving complexity.
Notes
Frequently Asked Questions
Can I use regular bread yeast instead of wine yeast?
Bread yeast produces solvent-like off-flavors and stops fermenting around 8% alcohol, leaving your wine unfinished and prone to spoilage. Wine yeast strains are specifically selected for clean fermentation and higher alcohol tolerance, so the small cost difference is worth every penny.
How long before I can drink my wine?
Your wine is technically drinkable after fermentation completes at 3 to 4 months, but it tastes sharp and immature at that point. Aging for 6 months to one year in the bottle allows harsh edges to soften and flavors to integrate smoothly.
What if my fermentation stops halfway through?
This usually happens from cold temperatures slowing yeast or nutrient depletion stalling metabolism. Warm your carboy gradually to 70 to 72 degrees, gently swirl it to rouse sediment, and add a bit more yeast nutrient; fermentation typically resumes within a few days.
Can I use store-bought juice instead of fresh grapes?
Yes, unsweetened pasteurized juice from a winemaking supplier works well and eliminates spoilage risk from wild yeasts. Avoid juice with added preservatives or flavor compounds, as these interfere with fermentation and create off-flavors.
Why does my wine smell like rotten eggs?
Sulfur or hydrogen sulfide smells indicate stressed yeast from temperature fluctuations or nutrient deficiency. Swirl the carboy gently and warm it slightly; the smell usually fades within days as yeast recovers.
Can I make wine without potassium metabisulfite?
You can skip sulfites if you use pasteurized juice, excellent sanitation, and sealed fermentation, though this increases spoilage risk slightly. Sulfites act as insurance by killing wild microorganisms and preventing oxidation, so many winemakers consider them worthwhile.
Final Thoughts
Making your own wine transforms a simple beverage into a reflection of your patience, care, and willingness to learn. The first time you open a bottle you created months earlier and share it with someone you care about, the effort becomes completely worthwhile.
Start your winemaking journey today with confidence knowing that the process is far more forgiving than you’d expect. Each batch teaches you something new, and your fifth batch will blow away your first one.
Explore More Winemaking Recipes
Your homemade wine adventure doesn’t have to stop here; the world of winemaking offers countless flavor profiles and techniques to explore.
If you enjoyed this recipe, you might love crafting a muscadine wine recipe for a bold, naturally sweet Southern-style wine. Or try your hand at making elderberry wine recipe for a deep, dark batch bursting with antioxidants and earthy complexity.