
Imagine cozying up on a warm afternoon with a creamy, dreamy bowl of homemade almond milk ice cream. This Almond Milk Ninja Creami recipe is not just a treat; it’s a delightful way to whip up a guilt-free dessert that’s packed with flavor and wonderfully versatile. With its smooth texture and nutty undertones, it’s a fantastic alternative for those looking to indulge without the dairy. Let’s dive into the simple ingredients and steps to create this refreshing delight!
Why You’ll Love This Recipe
This recipe is perfect for anyone who enjoys a cool treat without the fuss. Plus, it’s easy to customize to your taste.
- Rich and creamy texture that rivals traditional ice cream.
- Versatile flavor options to satisfy any craving.
- Simple and quick preparation for busy days.
- Nutritious and dairy-free, making it a guilt-free indulgence.
My Experience Making This Recipe
The first time I made this Almond Milk Ninja Creami, I was blown away by how creamy and flavorful it turned out. The best part? I could easily adjust the sweetness and flavorings to my liking, making it a fun experiment in the kitchen.
As I scooped the first bite, the smoothness felt like a hug in a bowl. My family couldn’t believe it was dairy-free; they were all asking for seconds!
Recipe Overview
- Recipe Name: Almond Milk Ninja Creami
- Servings: 4
- Prep Time: 10 minutes
- Cook Time: 0 minutes
- Total Time: 10 minutes
- Course: Dessert
- Cuisine: Vegan
- Calories per Serving: 150
Equipment You Will Need
- Ninja Creami machine
- Measuring cups and spoons
- Blender
- Storage container
Ingredients for Almond Milk Ninja Creami
- 2 cups unsweetened almond milk
- 1/2 cup almond butter
- 1/4 cup maple syrup (adjust for sweetness)
- 1 teaspoon vanilla extract
- 1/4 teaspoon sea salt
Ingredient Notes and Substitutions
- Almond milk: This forms the base and provides the creamy texture; you can substitute with any plant-based milk.
- Almond butter: It adds richness; peanut butter or cashew butter work as great alternatives.
- Maple syrup: Used for sweetness; agave syrup or honey can be used if not strictly vegan.
- Vanilla extract: Enhances flavor; feel free to use almond extract for a different twist.
How to Make Almond Milk Ninja Creami
Step 1: Gather Your Ingredients
Before you start, make sure you have all your ingredients measured and ready. This will streamline the process and ensure you don’t miss anything.
Step 2: Blend the Mixture
In your blender, combine the almond milk, almond butter, maple syrup, vanilla extract, and sea salt. Blend until smooth to create a creamy mixture.
Step 3: Pour into the Container
Carefully pour the blended mixture into the Ninja Creami container, ensuring not to overfill it. Leave some space for expansion as it freezes.
Step 4: Freeze the Mixture
Place the container in the freezer for at least 24 hours. This step is crucial for achieving the right texture when you process it in the Ninja Creami.
Step 5: Process in the Ninja Creami
Once frozen, take the container out of the freezer. Insert it into the Ninja Creami and select the “Lite Ice Cream” setting to process.
Step 6: Check Consistency
After processing, check the consistency. If it’s too soft, you can reprocess it until you reach your desired texture.
Step 7: Scoop and Serve
Once you’re happy with the consistency, scoop the almond cream into bowls. Serve it immediately or store any leftovers in the freezer.
Step 8: Enjoy!
Take a moment to savor the creamy goodness you just made. Feel free to top it with nuts, fruits, or chocolate chips for an extra treat!
Pro Tip: For an extra creamy texture, let your Almond Milk Ninja Creami sit at room temperature for a few minutes before scooping.
Tips for the Best Almond Milk Ninja Creami
- Use fresh almond milk for the best flavor.
- Adjust sweetness according to your taste preference.
- Experiment with different nut butters for varied flavors.
- Don’t skip the freezing step; it’s key to achieving the perfect texture.
- Consider adding a pinch of cinnamon for an extra flavor boost.
Common Mistakes to Avoid
- Not blending long enough can leave chunks; make sure it’s super smooth.
- Filling the container too full can lead to messes; leave some space.
- Skipping the freeze time will result in a watery texture.
- Not checking consistency after processing can lead to disappointment; give it a taste!
Serving Suggestions
This almond milk ice cream pairs beautifully with various toppings or snacks. Here are some delightful ideas:
- Top with fresh berries for a fruity kick.
- Add a drizzle of chocolate or caramel sauce for indulgence.
- Serve alongside nutty granola for crunch.
- Complement with homemade cookies for a classic dessert duo.
Variations to Try
- Add cocoa powder for a chocolate almond cream.
- Mix in matcha powder for a vibrant green tea flavor.
- Incorporate fruit purees like banana or strawberry for natural sweetness.
- Toss in some espresso for a caffeinated treat.
Dietary Adaptations
- Gluten-free: This recipe is naturally gluten-free.
- Dairy-free: Perfect for those avoiding dairy.
- Vegan: All ingredients are plant-based.
- Low-carb/keto: Substitute maple syrup with a low-carb sweetener if desired.
Storage and Reheating
Refrigerator
Store any leftovers in the fridge for up to 3 days.
- Keep it in an airtight container.
- Stir before serving if it separates.
Freezer
For longer storage, keep it in the freezer.
- Can be frozen for up to 1 month.
- Allow to thaw slightly before scooping.
Reheating
Reheating is not necessary, but if it hardens too much, let it sit at room temperature for a few minutes.
- Do not microwave; it changes the texture.
Nutrition Information
| Nutrient | Amount |
|---|---|
| Calories | 150 |
| Total Fat | 10g |
| Saturated Fat | 1g |
| Carbohydrates | 12g |
| Fiber | 1g |
| Sugar | 6g |
| Protein | 3g |
| Sodium | 120mg |
| Cholesterol | 0mg |
This nutrition information is approximate and may vary based on specific ingredients used.
Frequently Asked Questions
Can I use sweetened almond milk instead of unsweetened?
Yes, but reduce the amount of maple syrup to avoid it being too sweet.
Can I make this ahead of time?
Absolutely! Just freeze the mixture in advance and process it when you’re ready.
How long does it last in the freezer?
It can last about a month in the freezer. Just remember to let it thaw slightly before enjoying.
What if the texture is too icy?
If it turns icy, try blending it again for a smoother texture. The Ninja Creami should help with that.
Can I add other flavors?
Definitely! Feel free to experiment with spices or extracts to create your favorite flavor combinations.
Final Thoughts
Making your own almond milk ice cream is an exciting way to enjoy a healthier dessert. I encourage you to give this recipe a try and enjoy the delicious results.
Your taste buds will thank you, and you’ll wonder why you ever settled for store-bought. For more fun recipes, check out my Ninja Creami Milkshake and Ninja Creami Slushie recipes!
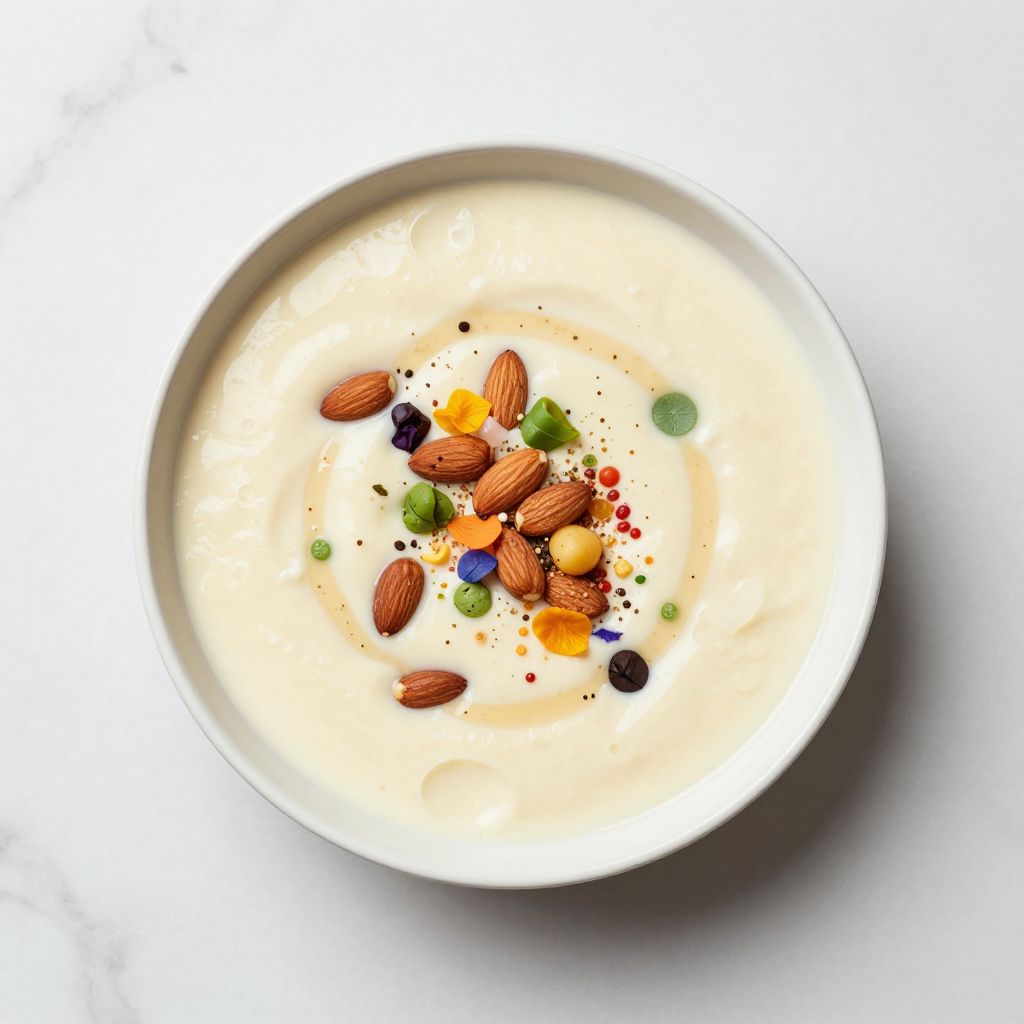
Almond Milk Ninja Creami
Ingredients
Equipment
Method
- Gather Your Ingredients: Before you start, make sure you have all your ingredients measured and ready.
- Blend the Mixture: In your blender, combine the almond milk, almond butter, maple syrup, vanilla extract, and sea salt. Blend until smooth.
- Pour into the Container: Carefully pour the blended mixture into the Ninja Creami container.
- Freeze the Mixture: Place the container in the freezer for at least 24 hours.
- Process in the Ninja Creami: Once frozen, take the container out of the freezer. Insert it into the Ninja Creami and select the 'Lite Ice Cream' setting.
- Check Consistency: After processing, check the consistency and reprocess if necessary.
- Scoop and Serve: Once you’re happy with the consistency, scoop the almond cream into bowls and serve immediately.
- Enjoy your homemade almond milk ice cream, optionally topped with nuts, fruits, or chocolate chips.